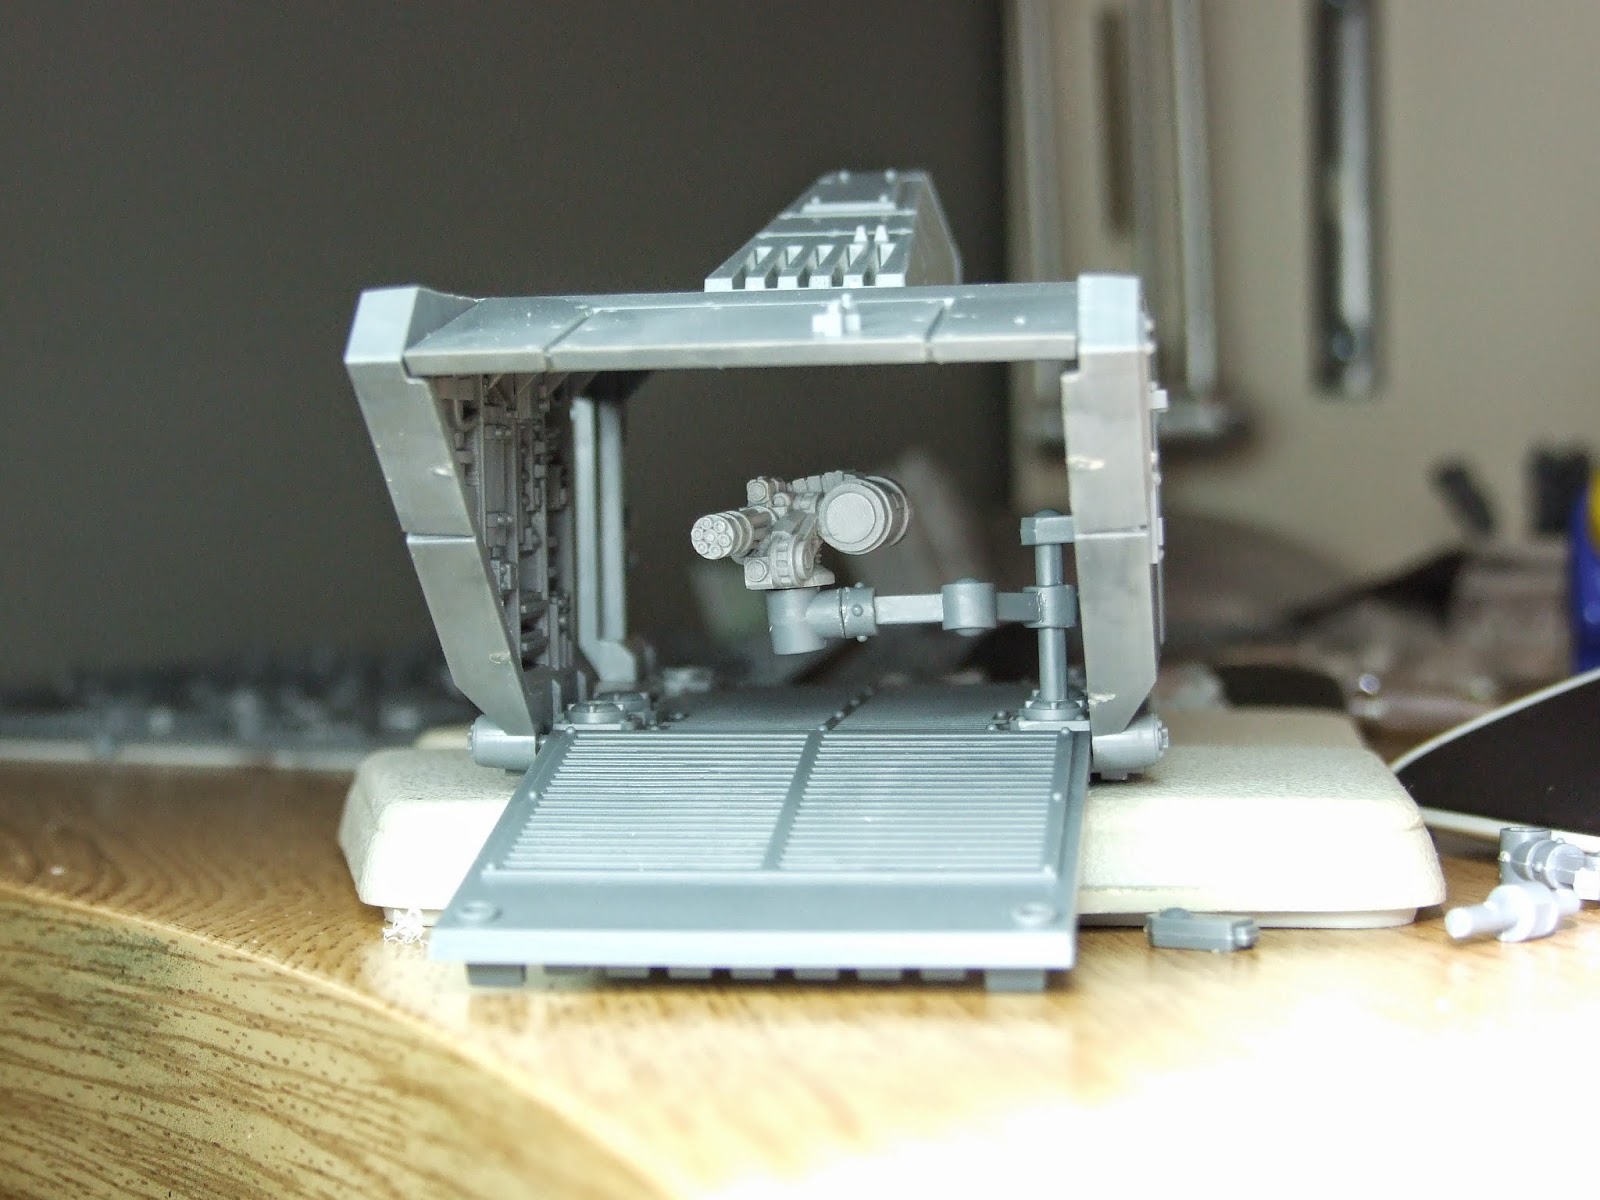
 Another completed tank! This time it's the magnetised Manticore/Deathstrike


Command Squad 710 WIP, Part 1
For once I've moved quickly on to the next project, Platoon 7-1's command squad, CS 710. This squad is built mainly out of parts from the Cadian command squad box set, but I did take some bits from other places.
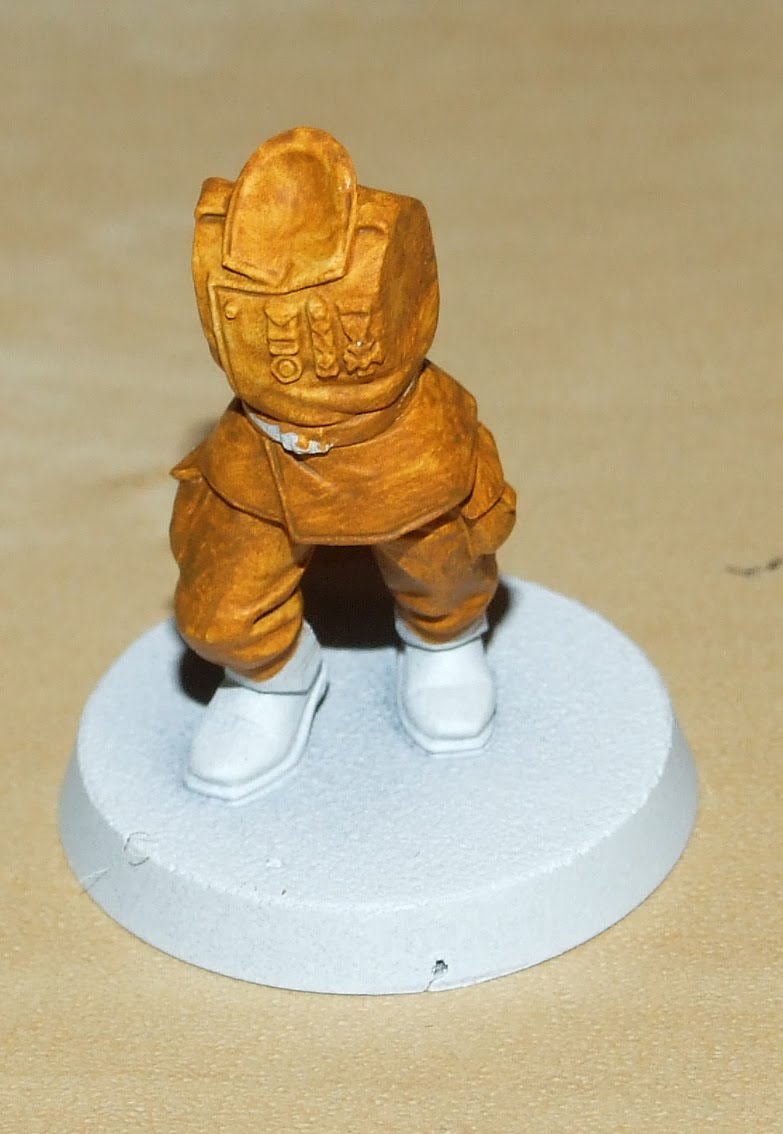
To start with, all of the bits were removed from the sprues and mold lines were cleaned up. To be honest, the mold lines were almost not existent which is a nice change. Next up I did a test run for each model and used blue tac to see where how I wanted each model to be posed. After this, the legs were glued onto the base. I then glued the torso onto each model, again after a bit of dry fitting. Everything then got a coat of white primer. I'd run out of GW Skull White spray, so instead went down to my local Halfords and picked up a can of their white primer. So far I am happy with the results. It seems to go down just as good as the Games Workshop one, and keeps the details crisp, even when I thought I had a bit of overspray. Here are some pics of the squad as it stands this afternoon.


I'll start off with the two higher members of the command squad. On the left is the officer, who will have the bionic arm with powersword and a pistol of some sort. I had decided on the bolt pistol, but the arm and hand holding it make the pose look really rigid. The trooper on the right will be a standard bearer. I'm planning on making this guy look like a grizzled veteran who has taken up the flag. I may also make an additional member of the command squad equipped with a vox caster, but this is just a thought (I hardly ever play any games so why shouldn't I have a 6 man command squad, or just a squad with banners!).


All three of these troopers are going to be armed with flamers. My plan is that each platoon command squad will have three special weapons.


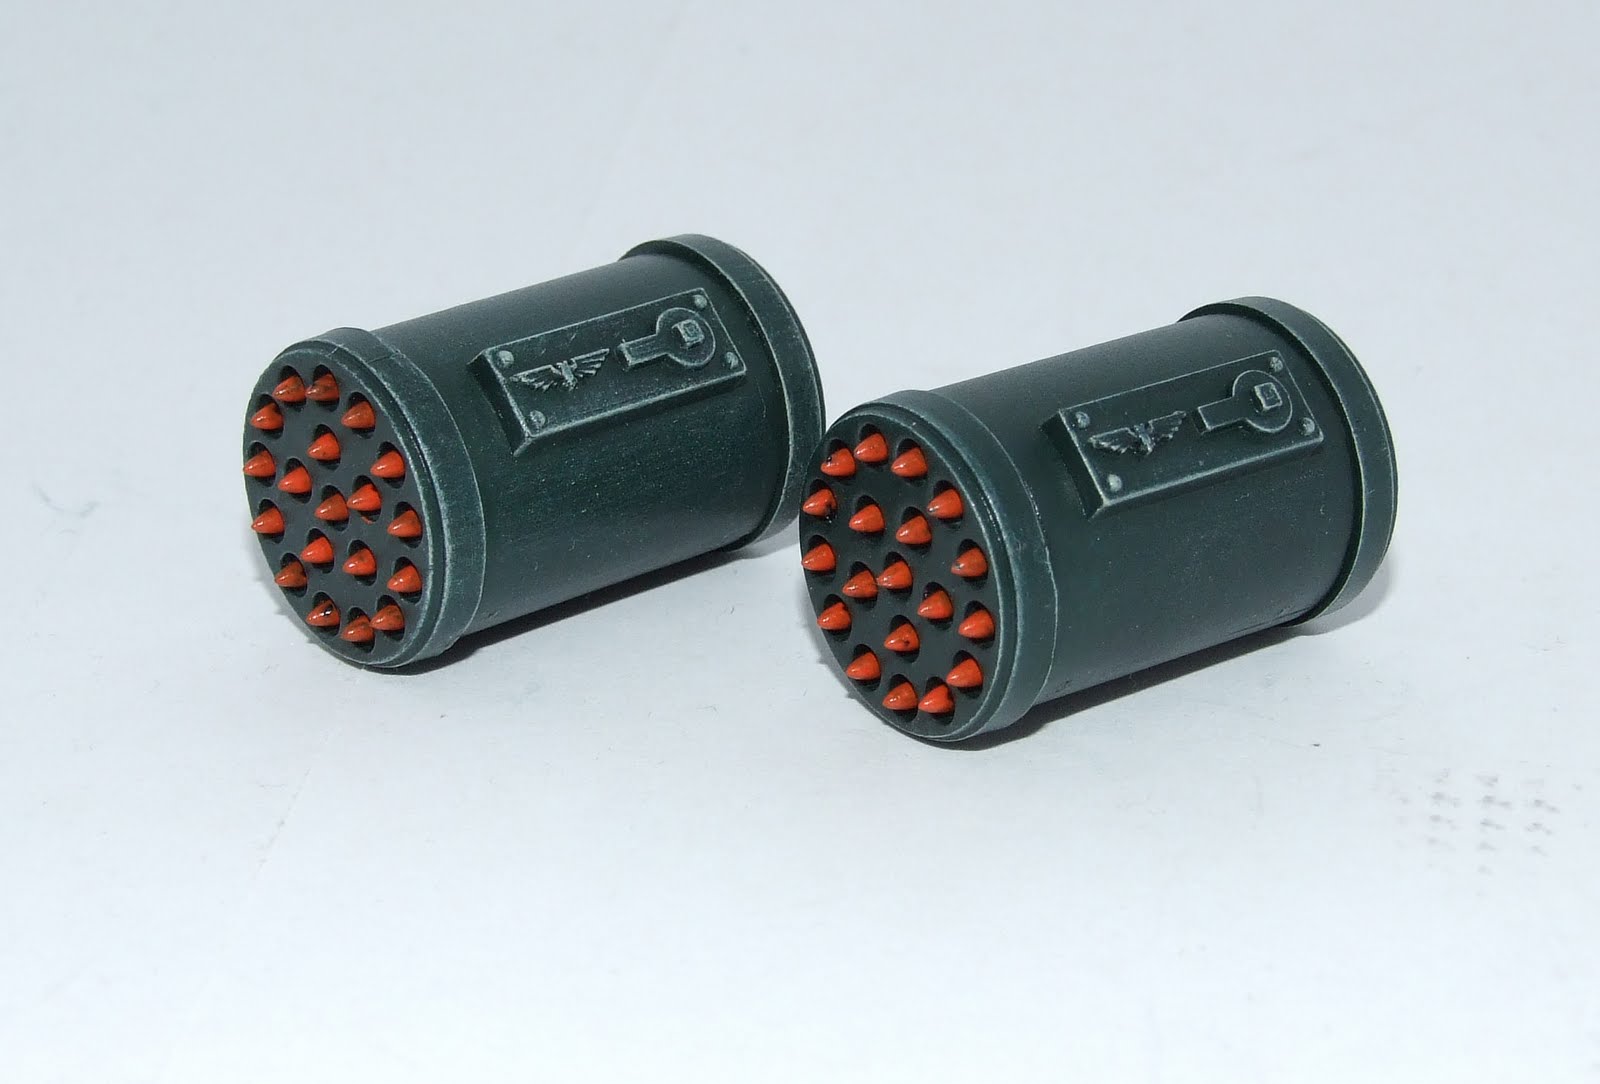
The picture on the left shows the officers sword arm and bolt pistol arm, but as I said above I'm not convinced about the bolt pistol arm. Also shown is the banner that I'll be using and the supporting arms for the flamer troopers. The flamer arms and tanks can be seen in the right hand picture. The observant ones amongst you may notice that there are three tanks, but only two flamers. This is because I want to use the flamer arms from the command squad box set, so that they have the special shoulder pad. Unfortunately I only have two at the moment, so I'll have to go and grab another command squad at some point.

Finally the heads. The head on the far left will be the officers, the next one along will be the standard bearers. Both of these heads are from the Cadian CS box set. The middle head is also from the Cadian CS box set and will be for one of the flamer wielding troopers. The head second from the right is from the Sentinel box set and the head on the right is from the Cadian squad box set. Both of these will be for the flamer troopers.
Thanks for reading.
To start with, all of the bits were removed from the sprues and mold lines were cleaned up. To be honest, the mold lines were almost not existent which is a nice change. Next up I did a test run for each model and used blue tac to see where how I wanted each model to be posed. After this, the legs were glued onto the base. I then glued the torso onto each model, again after a bit of dry fitting. Everything then got a coat of white primer. I'd run out of GW Skull White spray, so instead went down to my local Halfords and picked up a can of their white primer. So far I am happy with the results. It seems to go down just as good as the Games Workshop one, and keeps the details crisp, even when I thought I had a bit of overspray. Here are some pics of the squad as it stands this afternoon.

I'll start off with the two higher members of the command squad. On the left is the officer, who will have the bionic arm with powersword and a pistol of some sort. I had decided on the bolt pistol, but the arm and hand holding it make the pose look really rigid. The trooper on the right will be a standard bearer. I'm planning on making this guy look like a grizzled veteran who has taken up the flag. I may also make an additional member of the command squad equipped with a vox caster, but this is just a thought (I hardly ever play any games so why shouldn't I have a 6 man command squad, or just a squad with banners!).


All three of these troopers are going to be armed with flamers. My plan is that each platoon command squad will have three special weapons.


The picture on the left shows the officers sword arm and bolt pistol arm, but as I said above I'm not convinced about the bolt pistol arm. Also shown is the banner that I'll be using and the supporting arms for the flamer troopers. The flamer arms and tanks can be seen in the right hand picture. The observant ones amongst you may notice that there are three tanks, but only two flamers. This is because I want to use the flamer arms from the command squad box set, so that they have the special shoulder pad. Unfortunately I only have two at the moment, so I'll have to go and grab another command squad at some point.

Finally the heads. The head on the far left will be the officers, the next one along will be the standard bearers. Both of these heads are from the Cadian CS box set. The middle head is also from the Cadian CS box set and will be for one of the flamer wielding troopers. The head second from the right is from the Sentinel box set and the head on the right is from the Cadian squad box set. Both of these will be for the flamer troopers.
Thanks for reading.